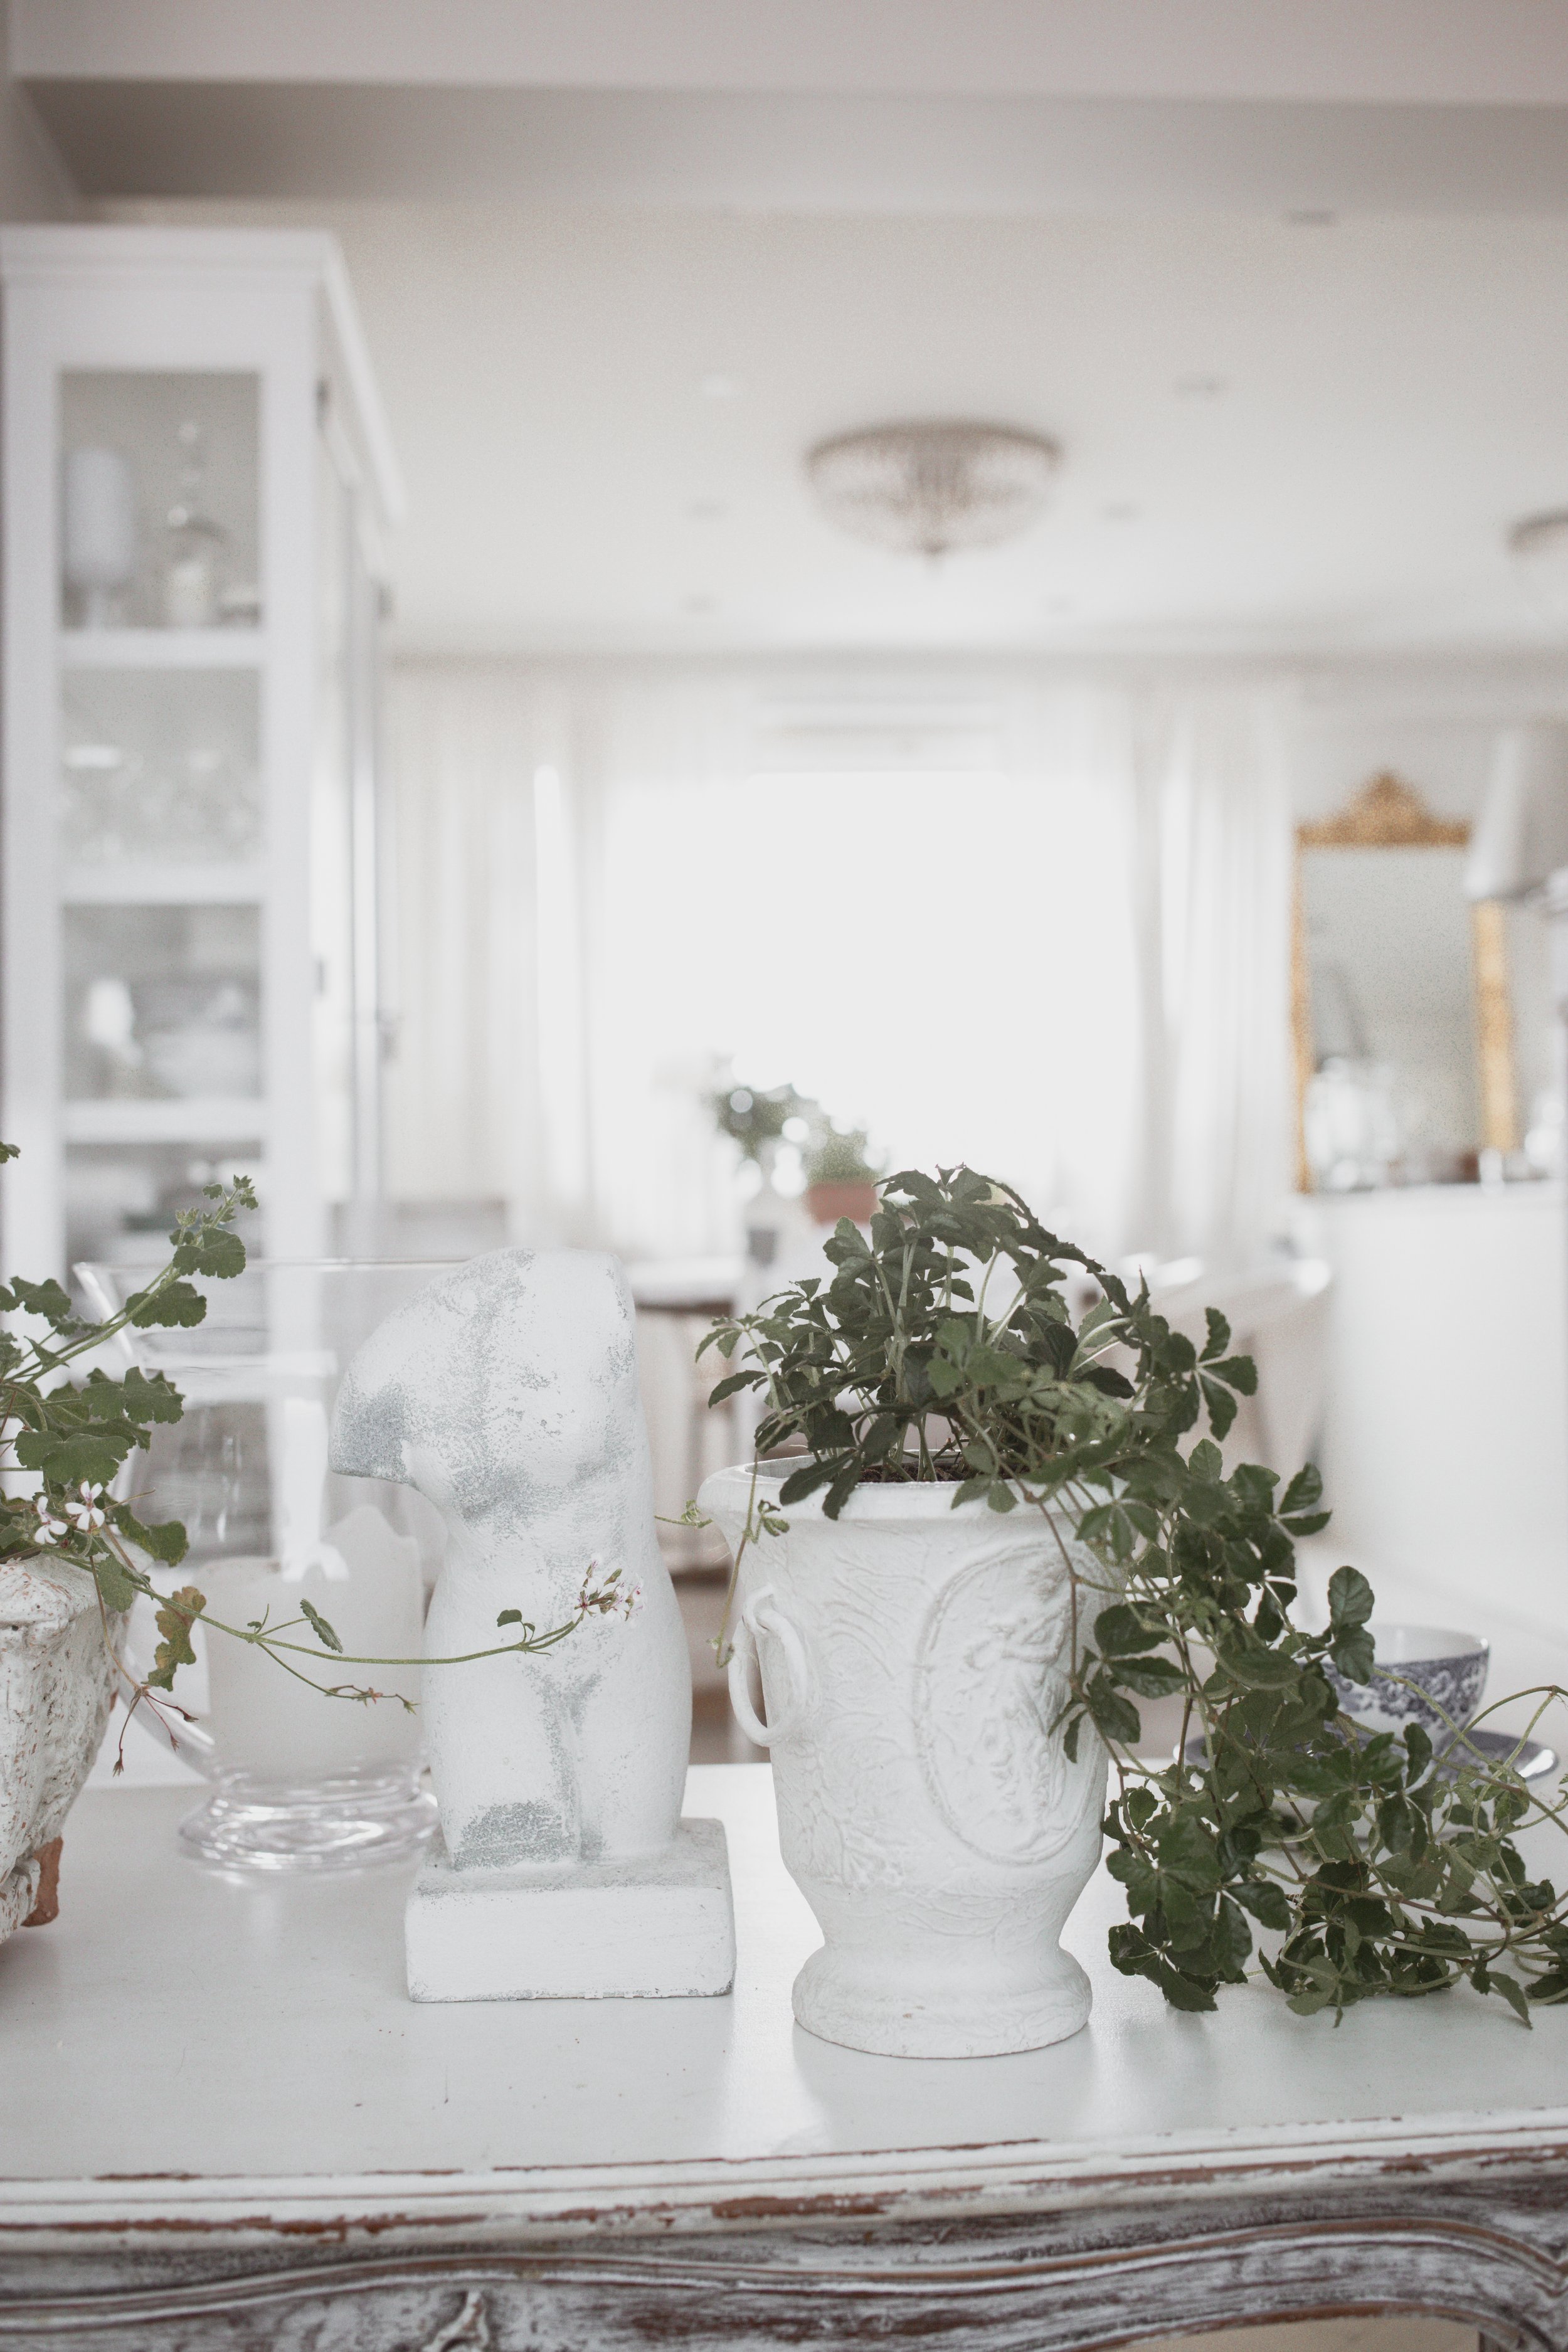
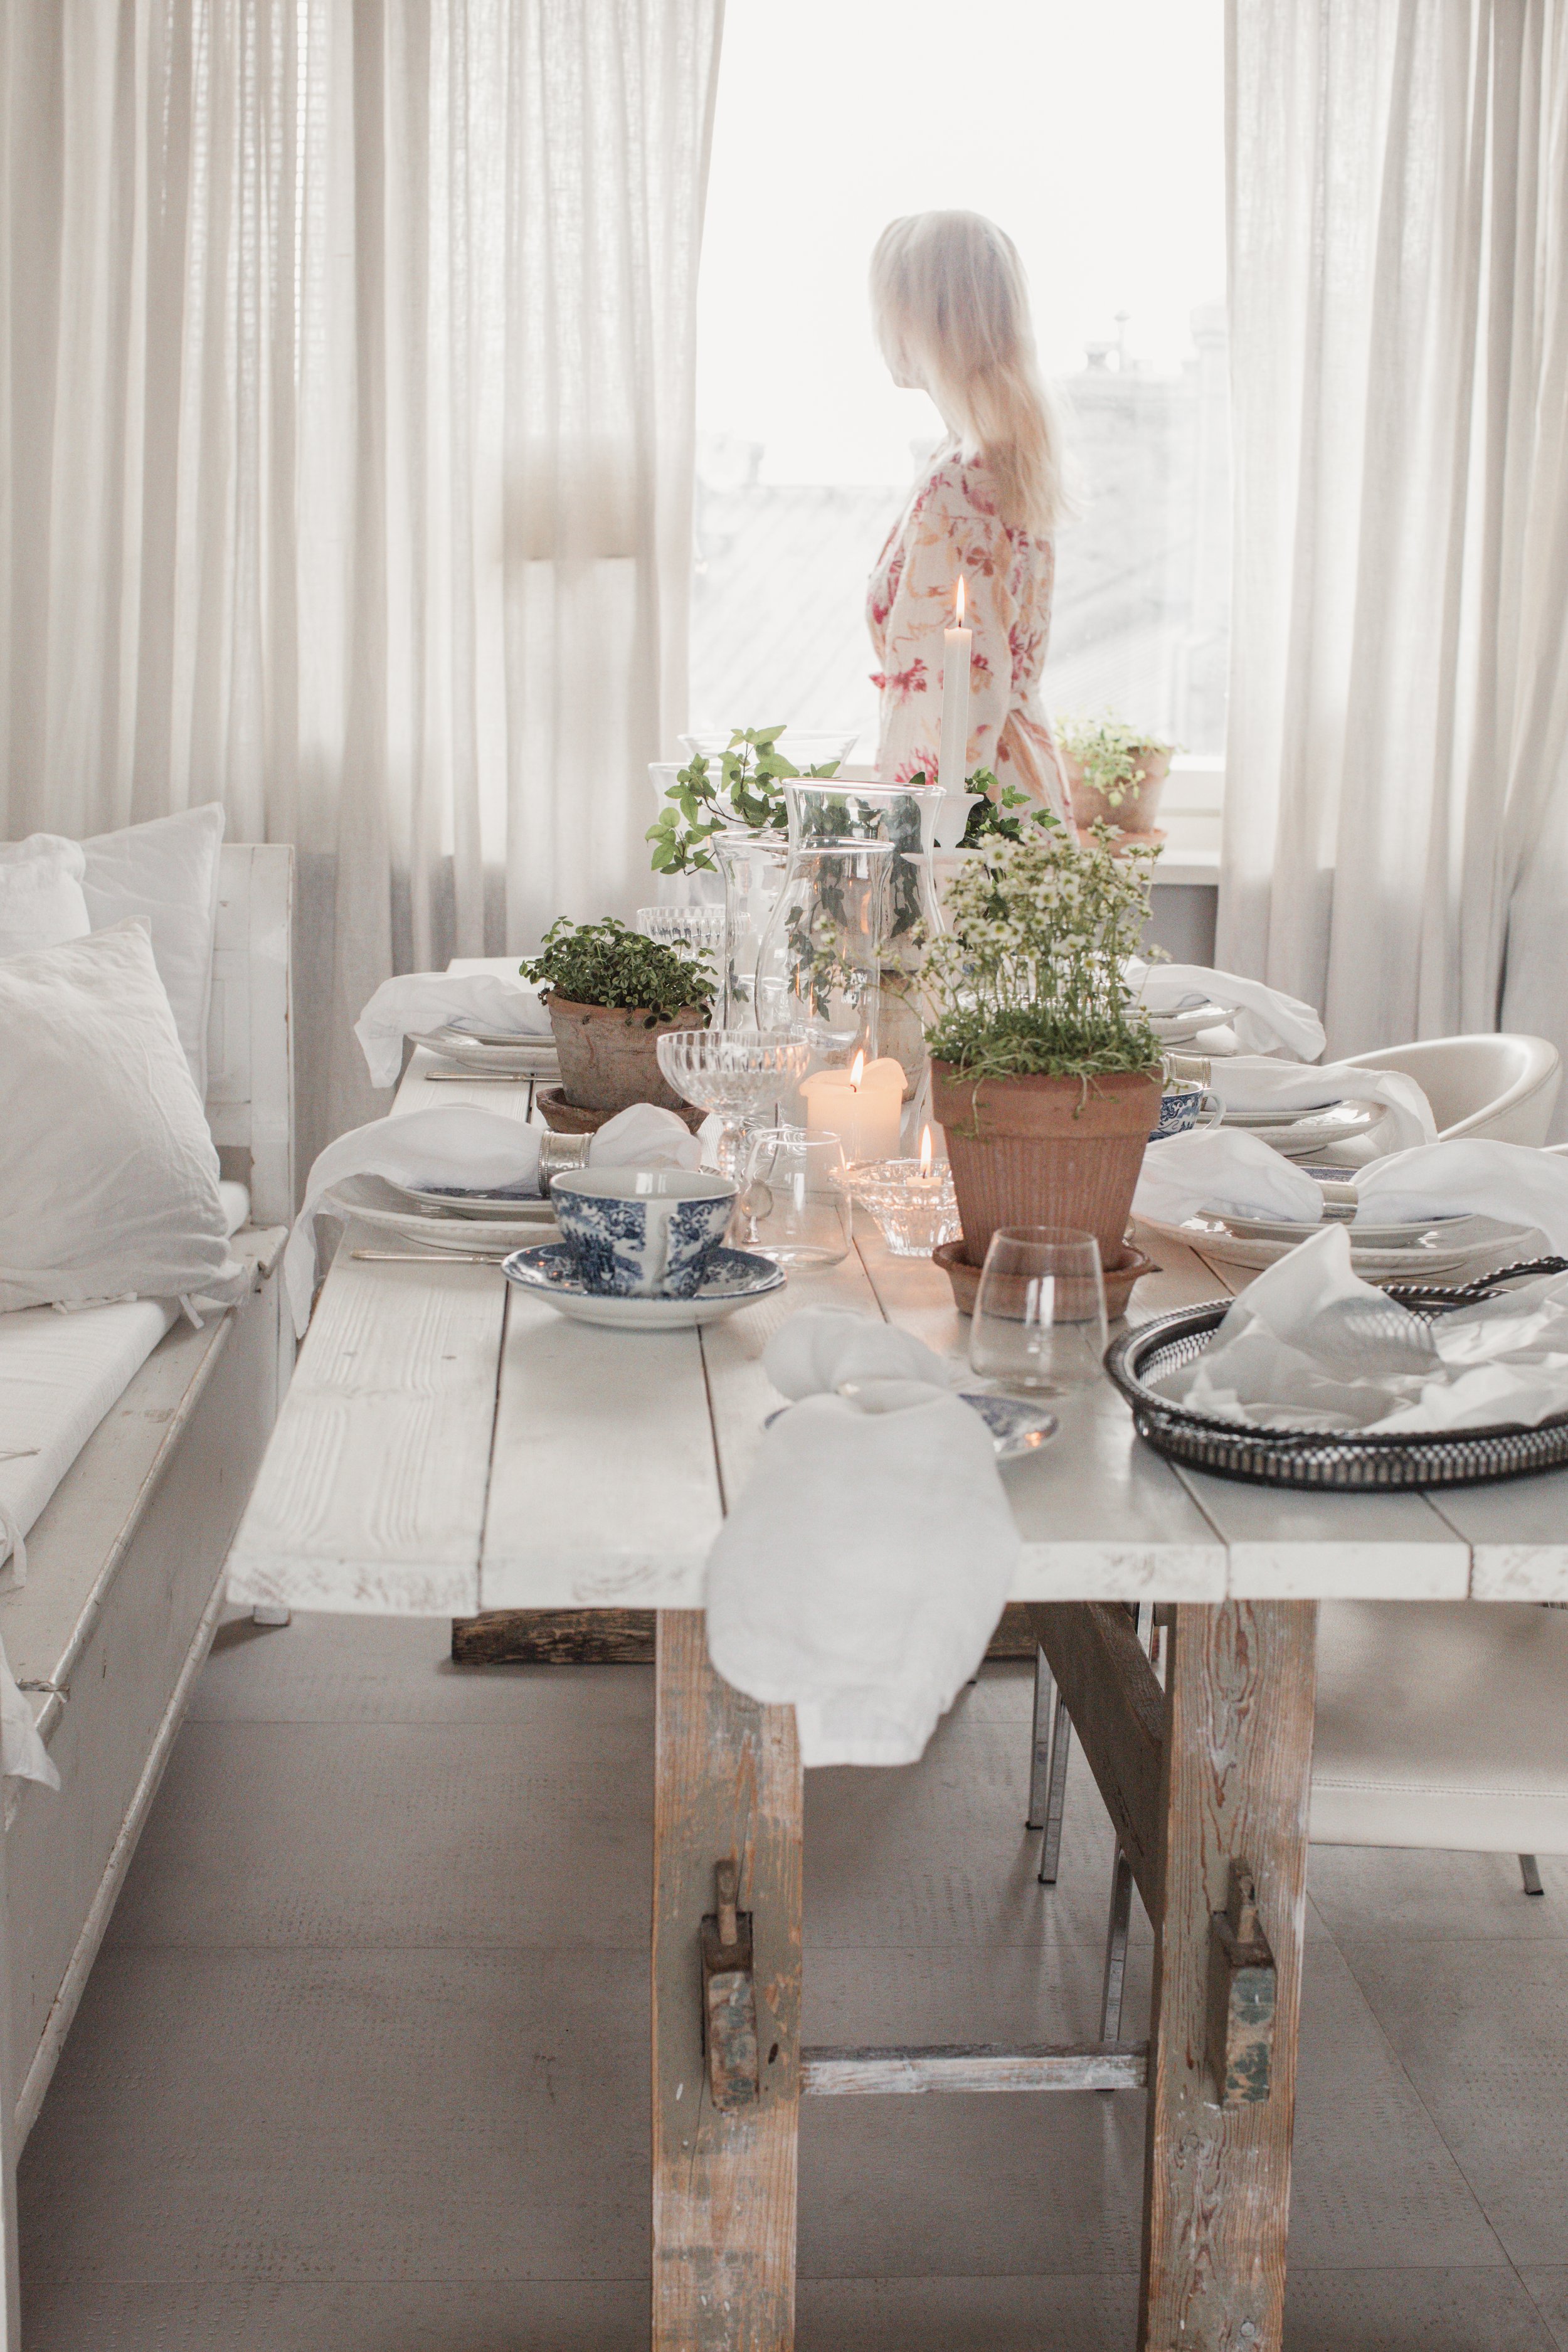
Easter Decor & Treats
As the first signs of spring begin to bloom, the world feels like it’s waking up again. The days stretch a little longer, trees start to bud, and the air carries that fresh, earthy scent of new beginnings. With Easter weekend just around the corner, it’s the perfect time to celebrate the season with nature-inspired traditions.
Dyeing eggs in soft pastels or vibrant hues brings a splash of color to the home, while crafting little birds’ nests from twigs, moss, and dried grasses makes for charming, rustic decorations. These simple touches capture the essence of spring—renewal, creativity, and the beauty of the outdoors. Spring has sprung here in Helsinki, we have not had any snow for quite some time and there is a growth spurt happening in nature. We have been doing a little bit of decorating at home for easter, growing grass from seeds and naturally dyed eggs with my three year old. I also made some simple but beautiful birds nests that we use in our traditional easter egg hunt in the woodlands.
This year, we made vibrant yellow eggs by gently boiling them in cumin, a splash of vinegar and blueberries. After removing them from the water, I dusted a bit of eatable gold glitter on top to give them a bit of shine.
Easter Lemon Lavender Posset
Here’s a lovely and simple recipe for Lemon Lavender Posset served in antique tea cups — a silky, citrusy dessert with a floral twist that’s perfect for spring or Easter weekend.
Serves: 4-6
Prep Time: 15 minutes
Chill Time: 4 hours or overnight
Ingredients:
2 cups (500 ml) heavy cream
¾ cup (150 g) granulated sugar
1 tbsp dried culinary lavender
Zest of 1 lemon
⅓ cup (80 ml) fresh lemon juice (about 2 lemons)
Optional: Edible flowers or extra lemon zest for garnish
Instructions:
Infuse the Cream
In a medium saucepan, combine the cream, sugar, dried lavender, and lemon zest. Heat over medium heat until it just begins to simmer — do not boil. Stir gently to dissolve the sugar. Once you see small bubbles around the edges, remove from heat.Steep the Lavender
Cover and let the mixture steep for 10–15 minutes to infuse the lavender flavor. Strain out the lavender and zest using a fine mesh sieve, then return the infused cream to the saucepan.Add Lemon Juice
Bring the cream back to a gentle simmer, then remove from heat. Stir in the lemon juice. You’ll notice the mixture begins to thicken slightly — that’s the acid working its magic.Pour and Chill
Pour the warm posset mixture into small teacups or ramekins. Let cool at room temperature for 15–20 minutes, then cover and refrigerate for at least 4 hours (or overnight) until set.Serve
Just before serving, garnish with a sprinkle of lemon zest, a sprig of lavender, or edible flowers for a fresh spring touch. As it is Easter, I garnished with little chocolate eggs.
Easy Beginners Micro Green Guide
Here is a quick easy guide to grow microgreens
Microgreens are young, edible plants harvested at an early stage of growth, typically when the first true leaves (cotyledons) have developed. These tiny greens pack a punch when it comes to flavour, color, and nutritional value. If you are begininng on your microgreen journey, growing green and red daikons are very easy, along with peashoots. All these grow super fast, with little fuss needed. I grow all of these on my kitchen window sill.
Microgreens are known for being easy to grow, requiring minimal space, and are often grown in small containers, making them ideal for urban gardening or even indoor cultivation. They are rich in vitamins, minerals, and antioxidants, offering a concentrated dose of nutrition in a small serving.
In culinary settings, microgreens are used as garnishes, salad ingredients, or toppings for dishes to add flavour, texture, and visual appeal. They're also gaining popularity in health-conscious diets due to their dense nutrient content.
read more about microgreens from here
You need:
Shallow pots ( I use terracotta pots with drainage holes)
Herb soil
Plastic bag/clingfilm
Spray bottle/can for watering
1) Growing Pea sprouts
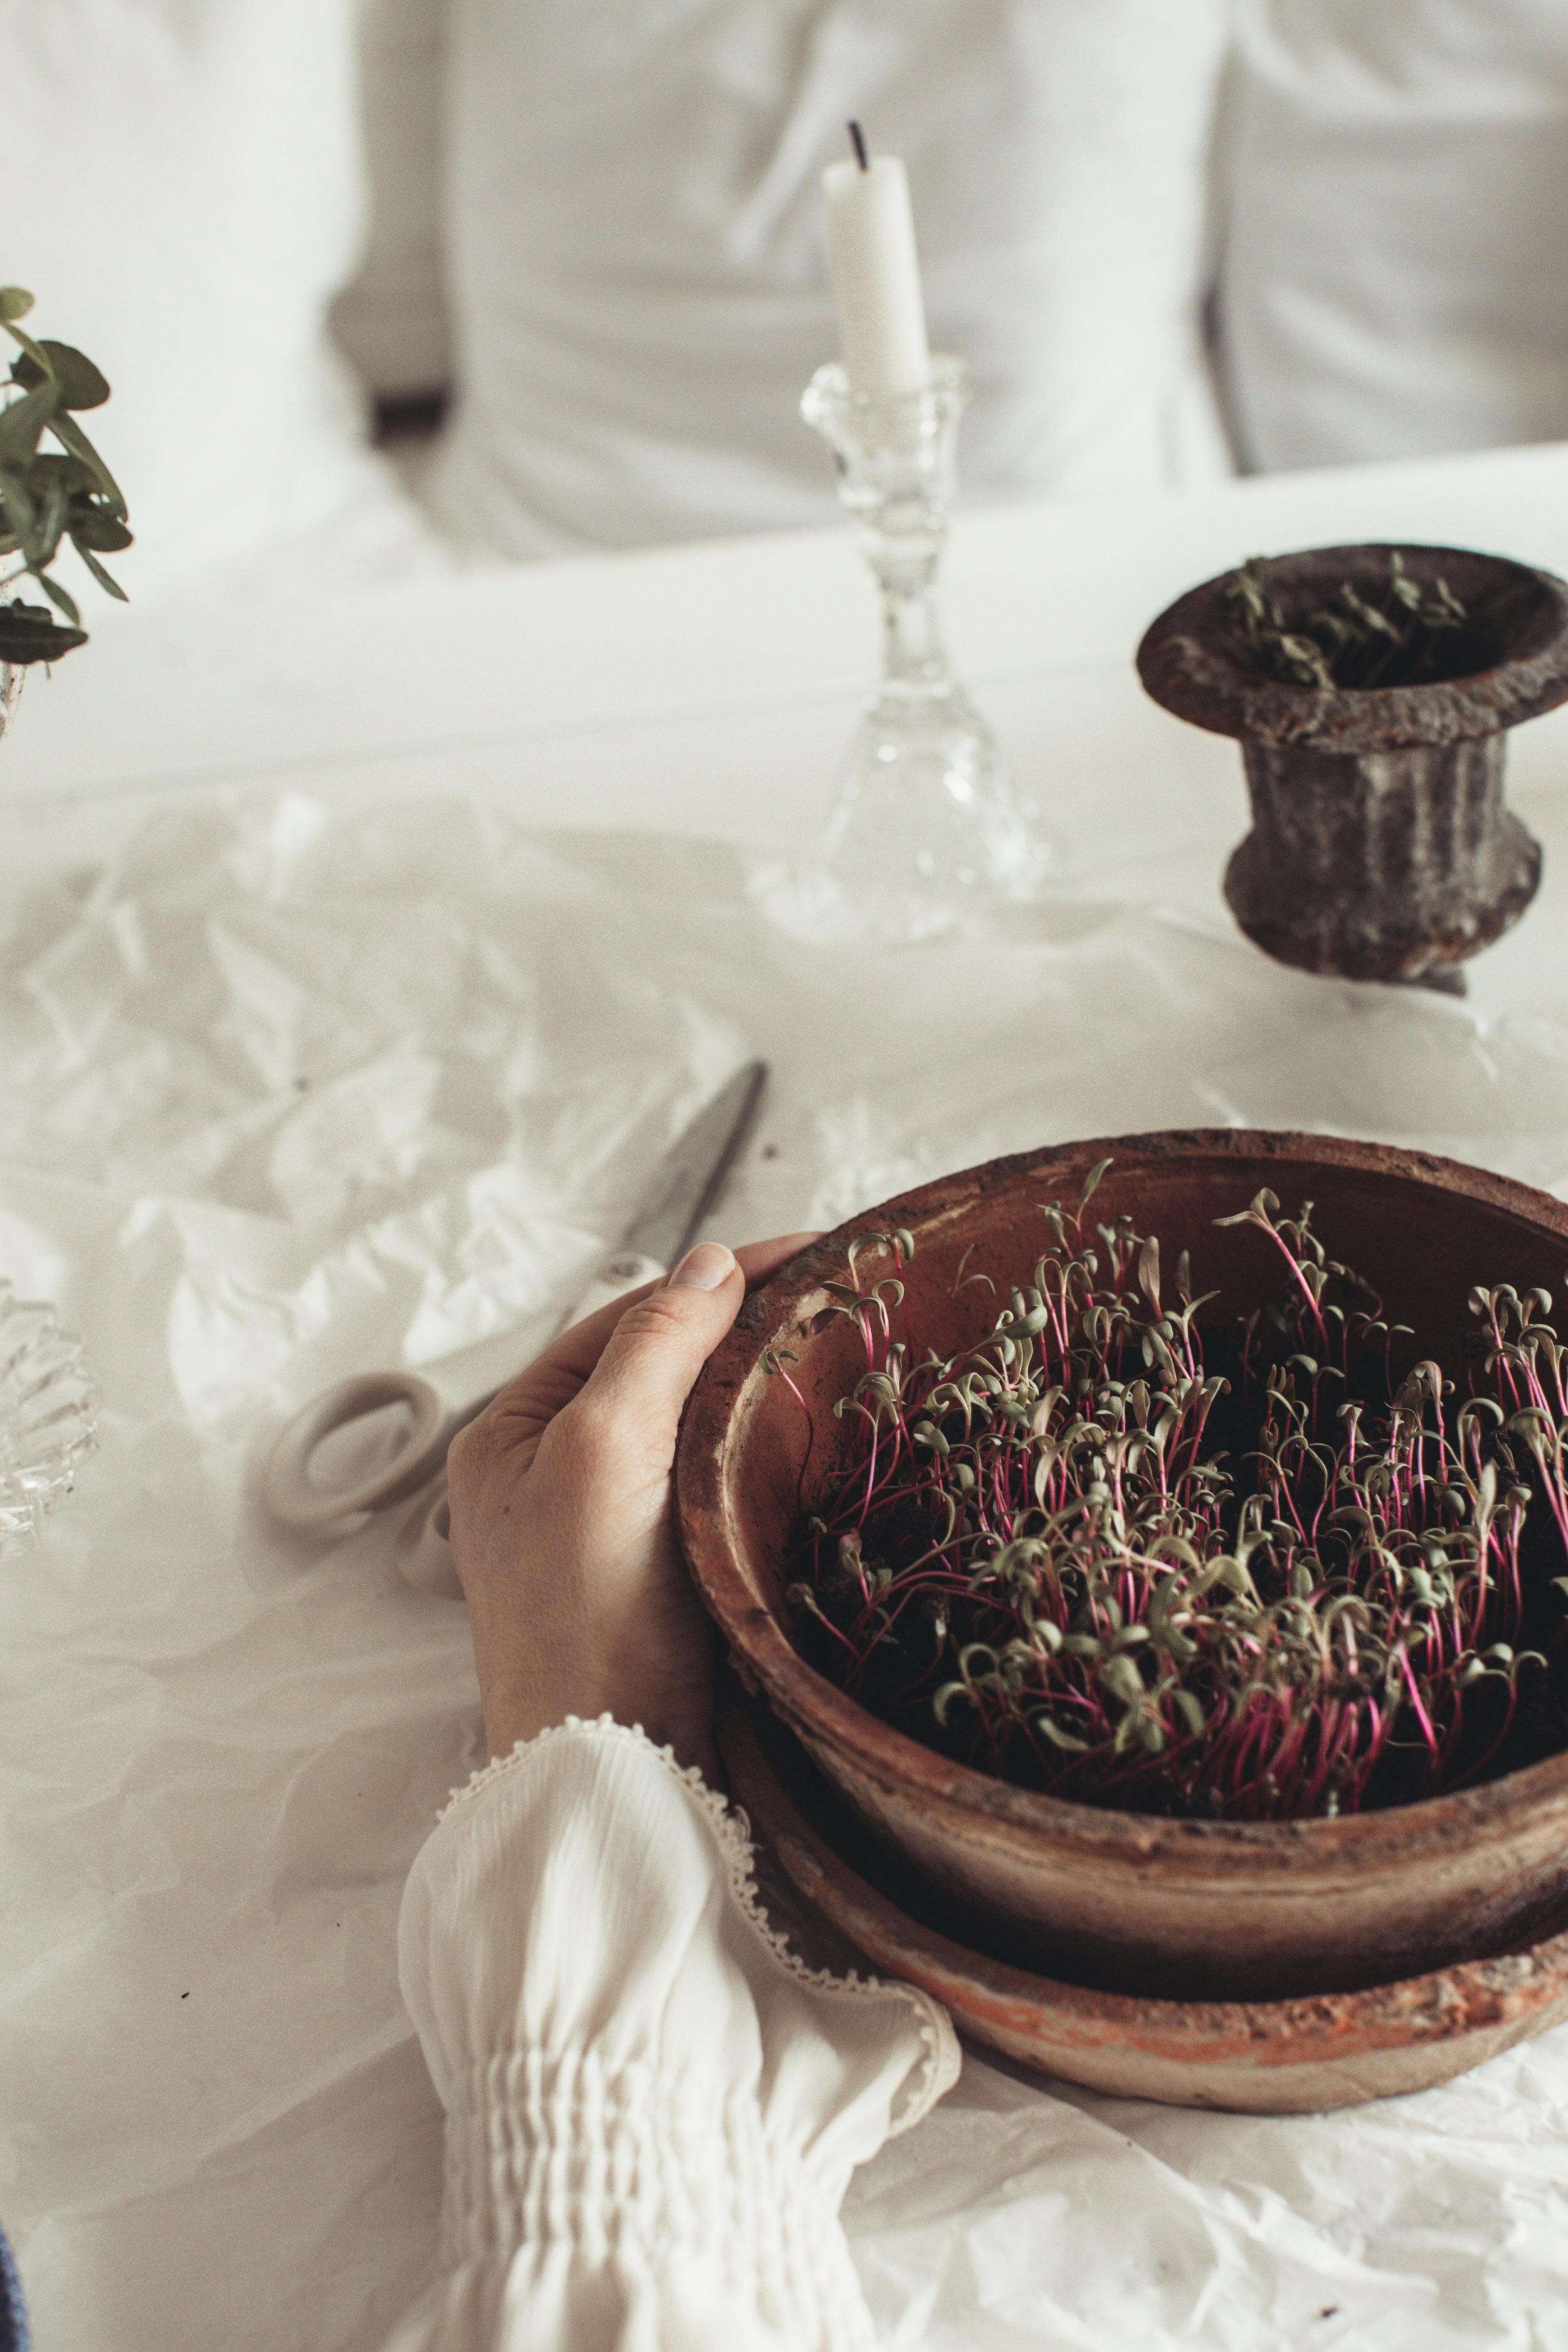
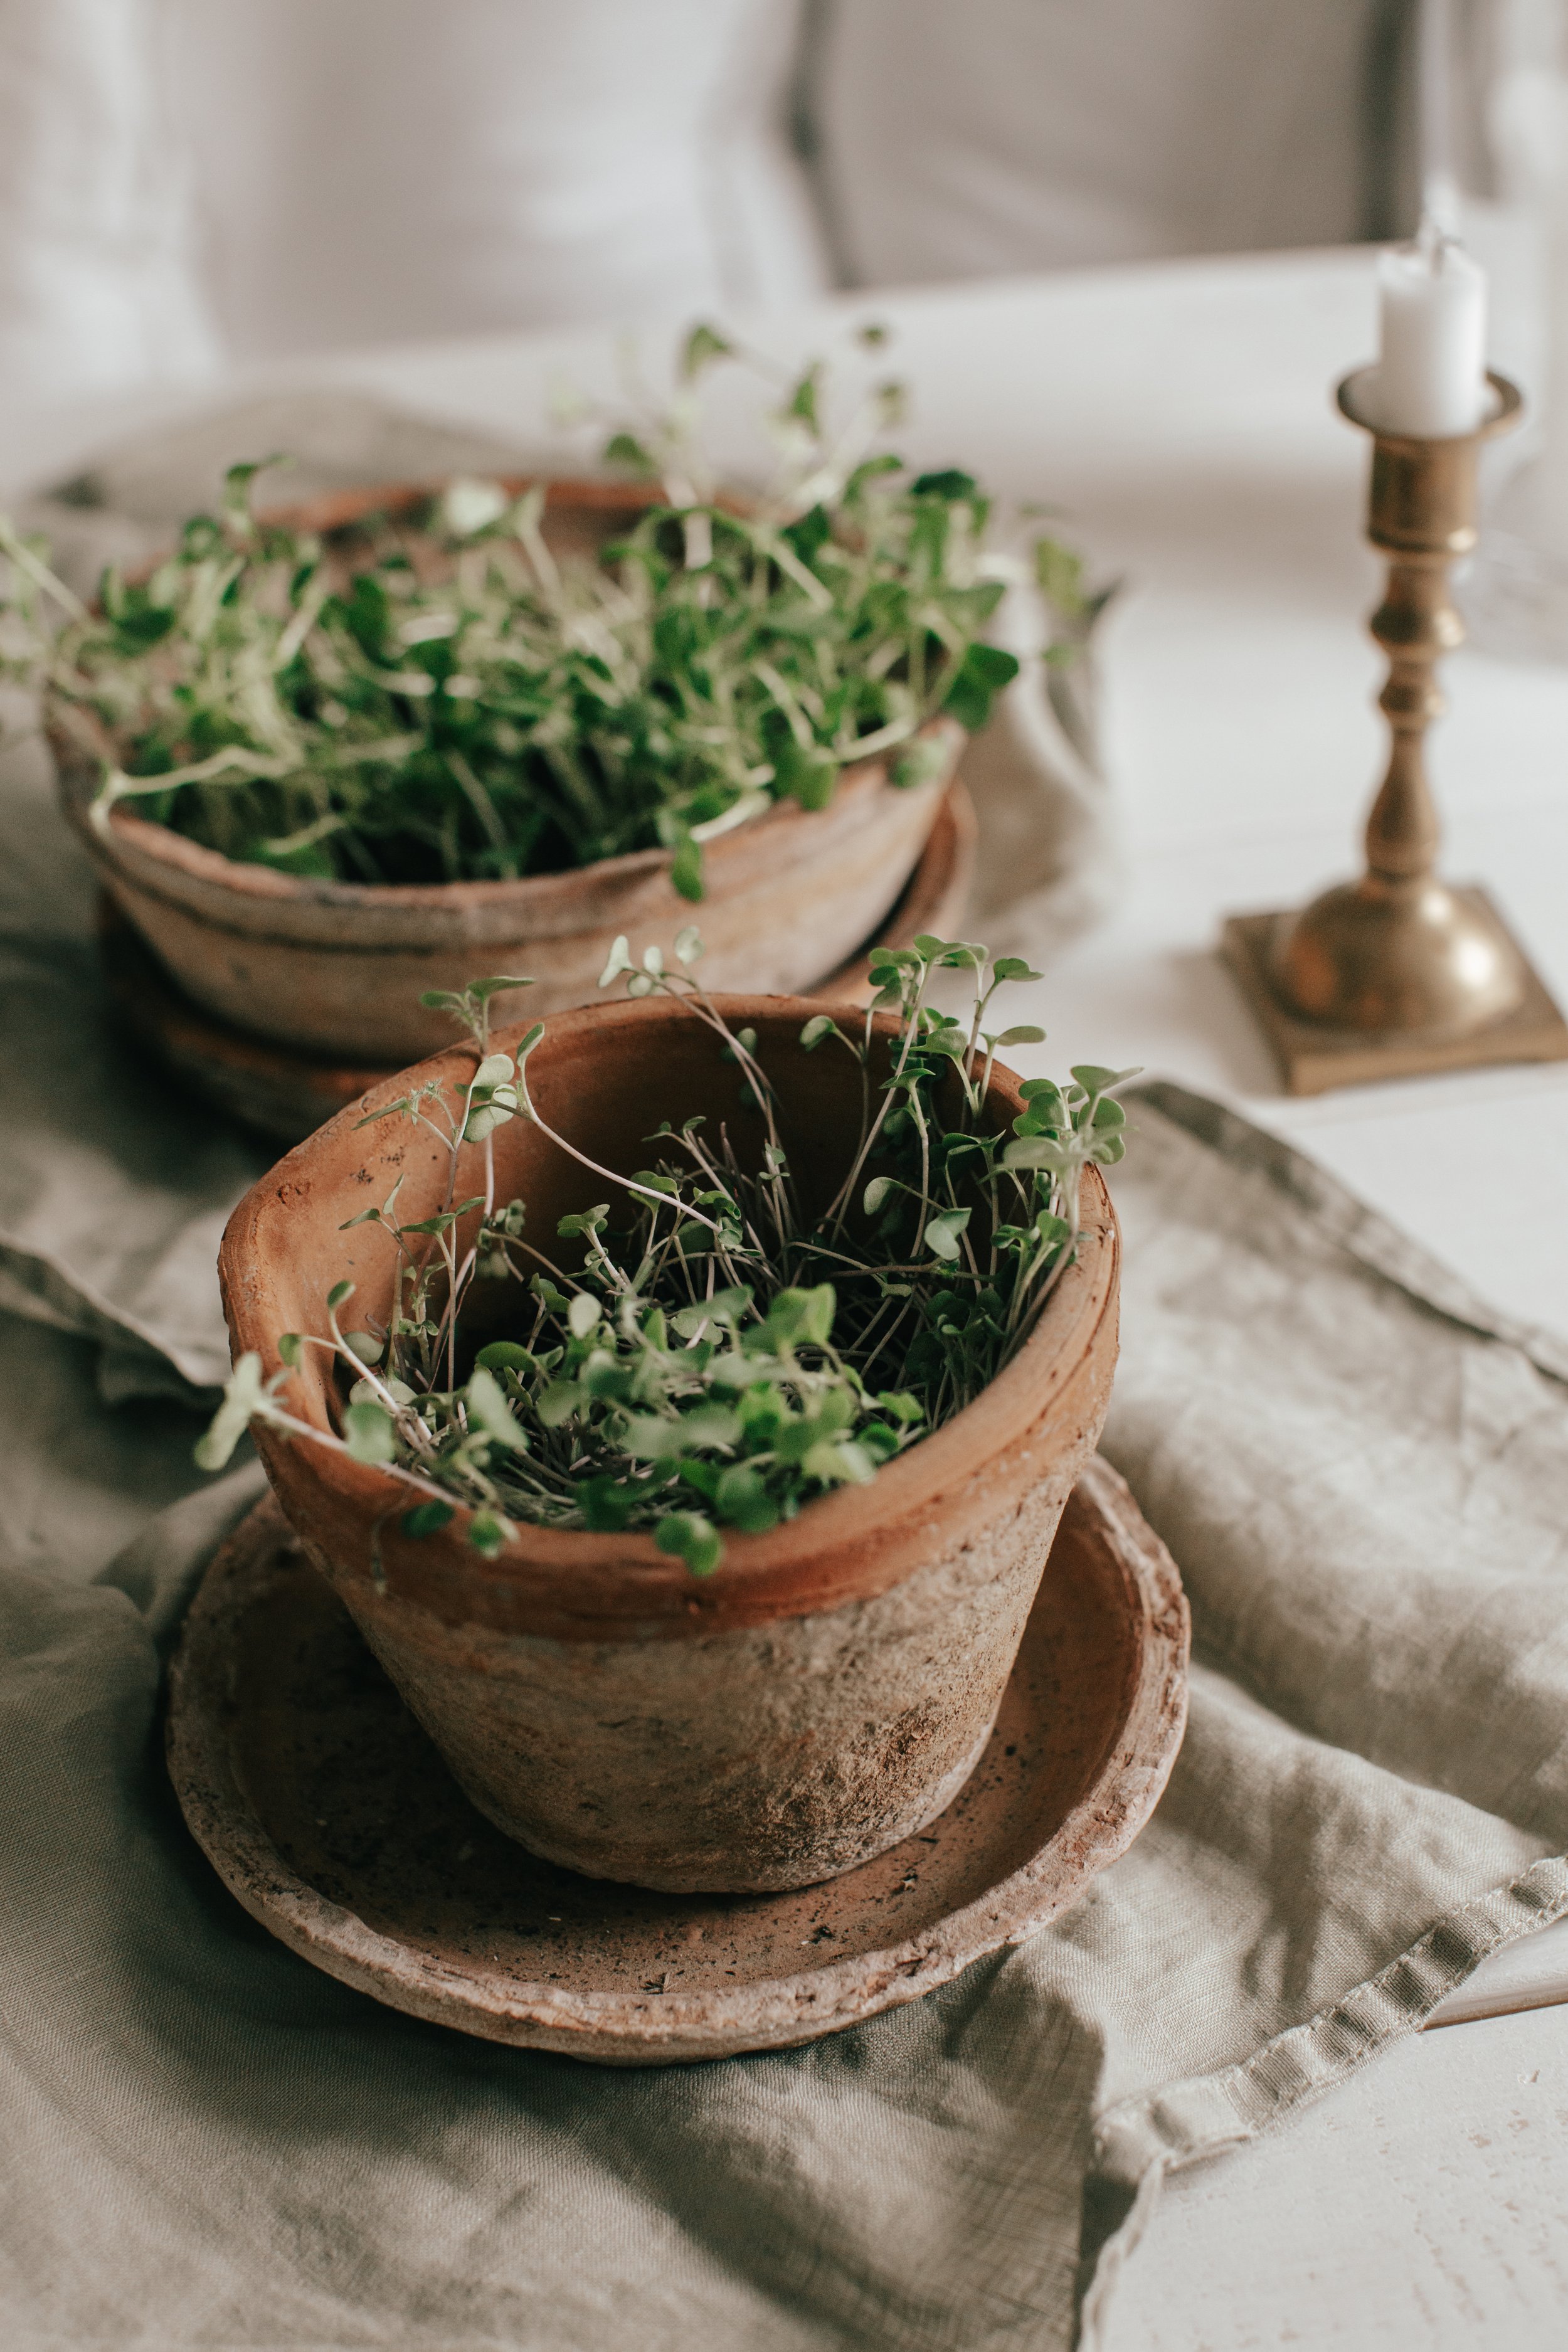
Growing pea sprouts is very easy. You take some dried peas that can be purchased from a food store. You soak a handful of them in a bowl in room temperature water overnight. Soaking them, will soften the shell of the seed and help them grow faster. The following day, you take a somewhat shallow pot (as you eat the pea shoots when they are maximum about 15cm long) that has a drainage hole in the bottom. I used a terracotta pot, as can be seen above.
Place a little bit of herb soil on the bottom of your pot. Only around 2-3cm will do so you do not waste your soil. Now you can water the soil so it is nice and moist. Place the pea seeds on top of the soil. I used a lot of the seeds at once, tightly next to each other so I get a maximum harvest at once. Then just add a small amount of soil on top of the seeds, just enough that they are gently covered. It really needs the smallest amount. Then spray the top of the soil with a water bottle so they are moist.
Create a warm moist atmosphere:
Take some clingfilm or a plastic bag that you poke about 10 holes into. Place this on top of your terracotta pot for the first 2-3 days until your seeds start to sprout. Spray a little water inside the plastic cover so the plastic creates a moist roof on top of the seeds. Tuck it under the pot and place it on a windowsill, where it catches sunlight. Water daily. After about 3 days the pea sprouts start pushing through the soil, then you can remove the clingfilm. Watch them grow and enjoy the harvest possibly after a week. I eat them all away and do not let them grow over 20cm. Once I have eaten it all. I literally dump the soil out and start over again with the same process.
pea shoots pushing through after about 4 days
2) Growing Green & Red Daikon, Radish microgreens
If you are going to start growing your first set of micro greens, start with green or red daikon radish. The reason for this, is because they grow very fast, the greens are durable and easy to grow in simple conditions.
Radish microgreens contain various vitamins such as A, B, C, E, and K, numerous minerals (iron, calcium, magnesium, phosphorus, potassium, zinc), essential amino acids, and antioxidants.
In general, microgreens are an extremely nutrient-rich food. They can contain up to tens of times more nutrients than their full-sized plant counterparts. It's genuine superfood that doesn't come in a powder form in a jar.
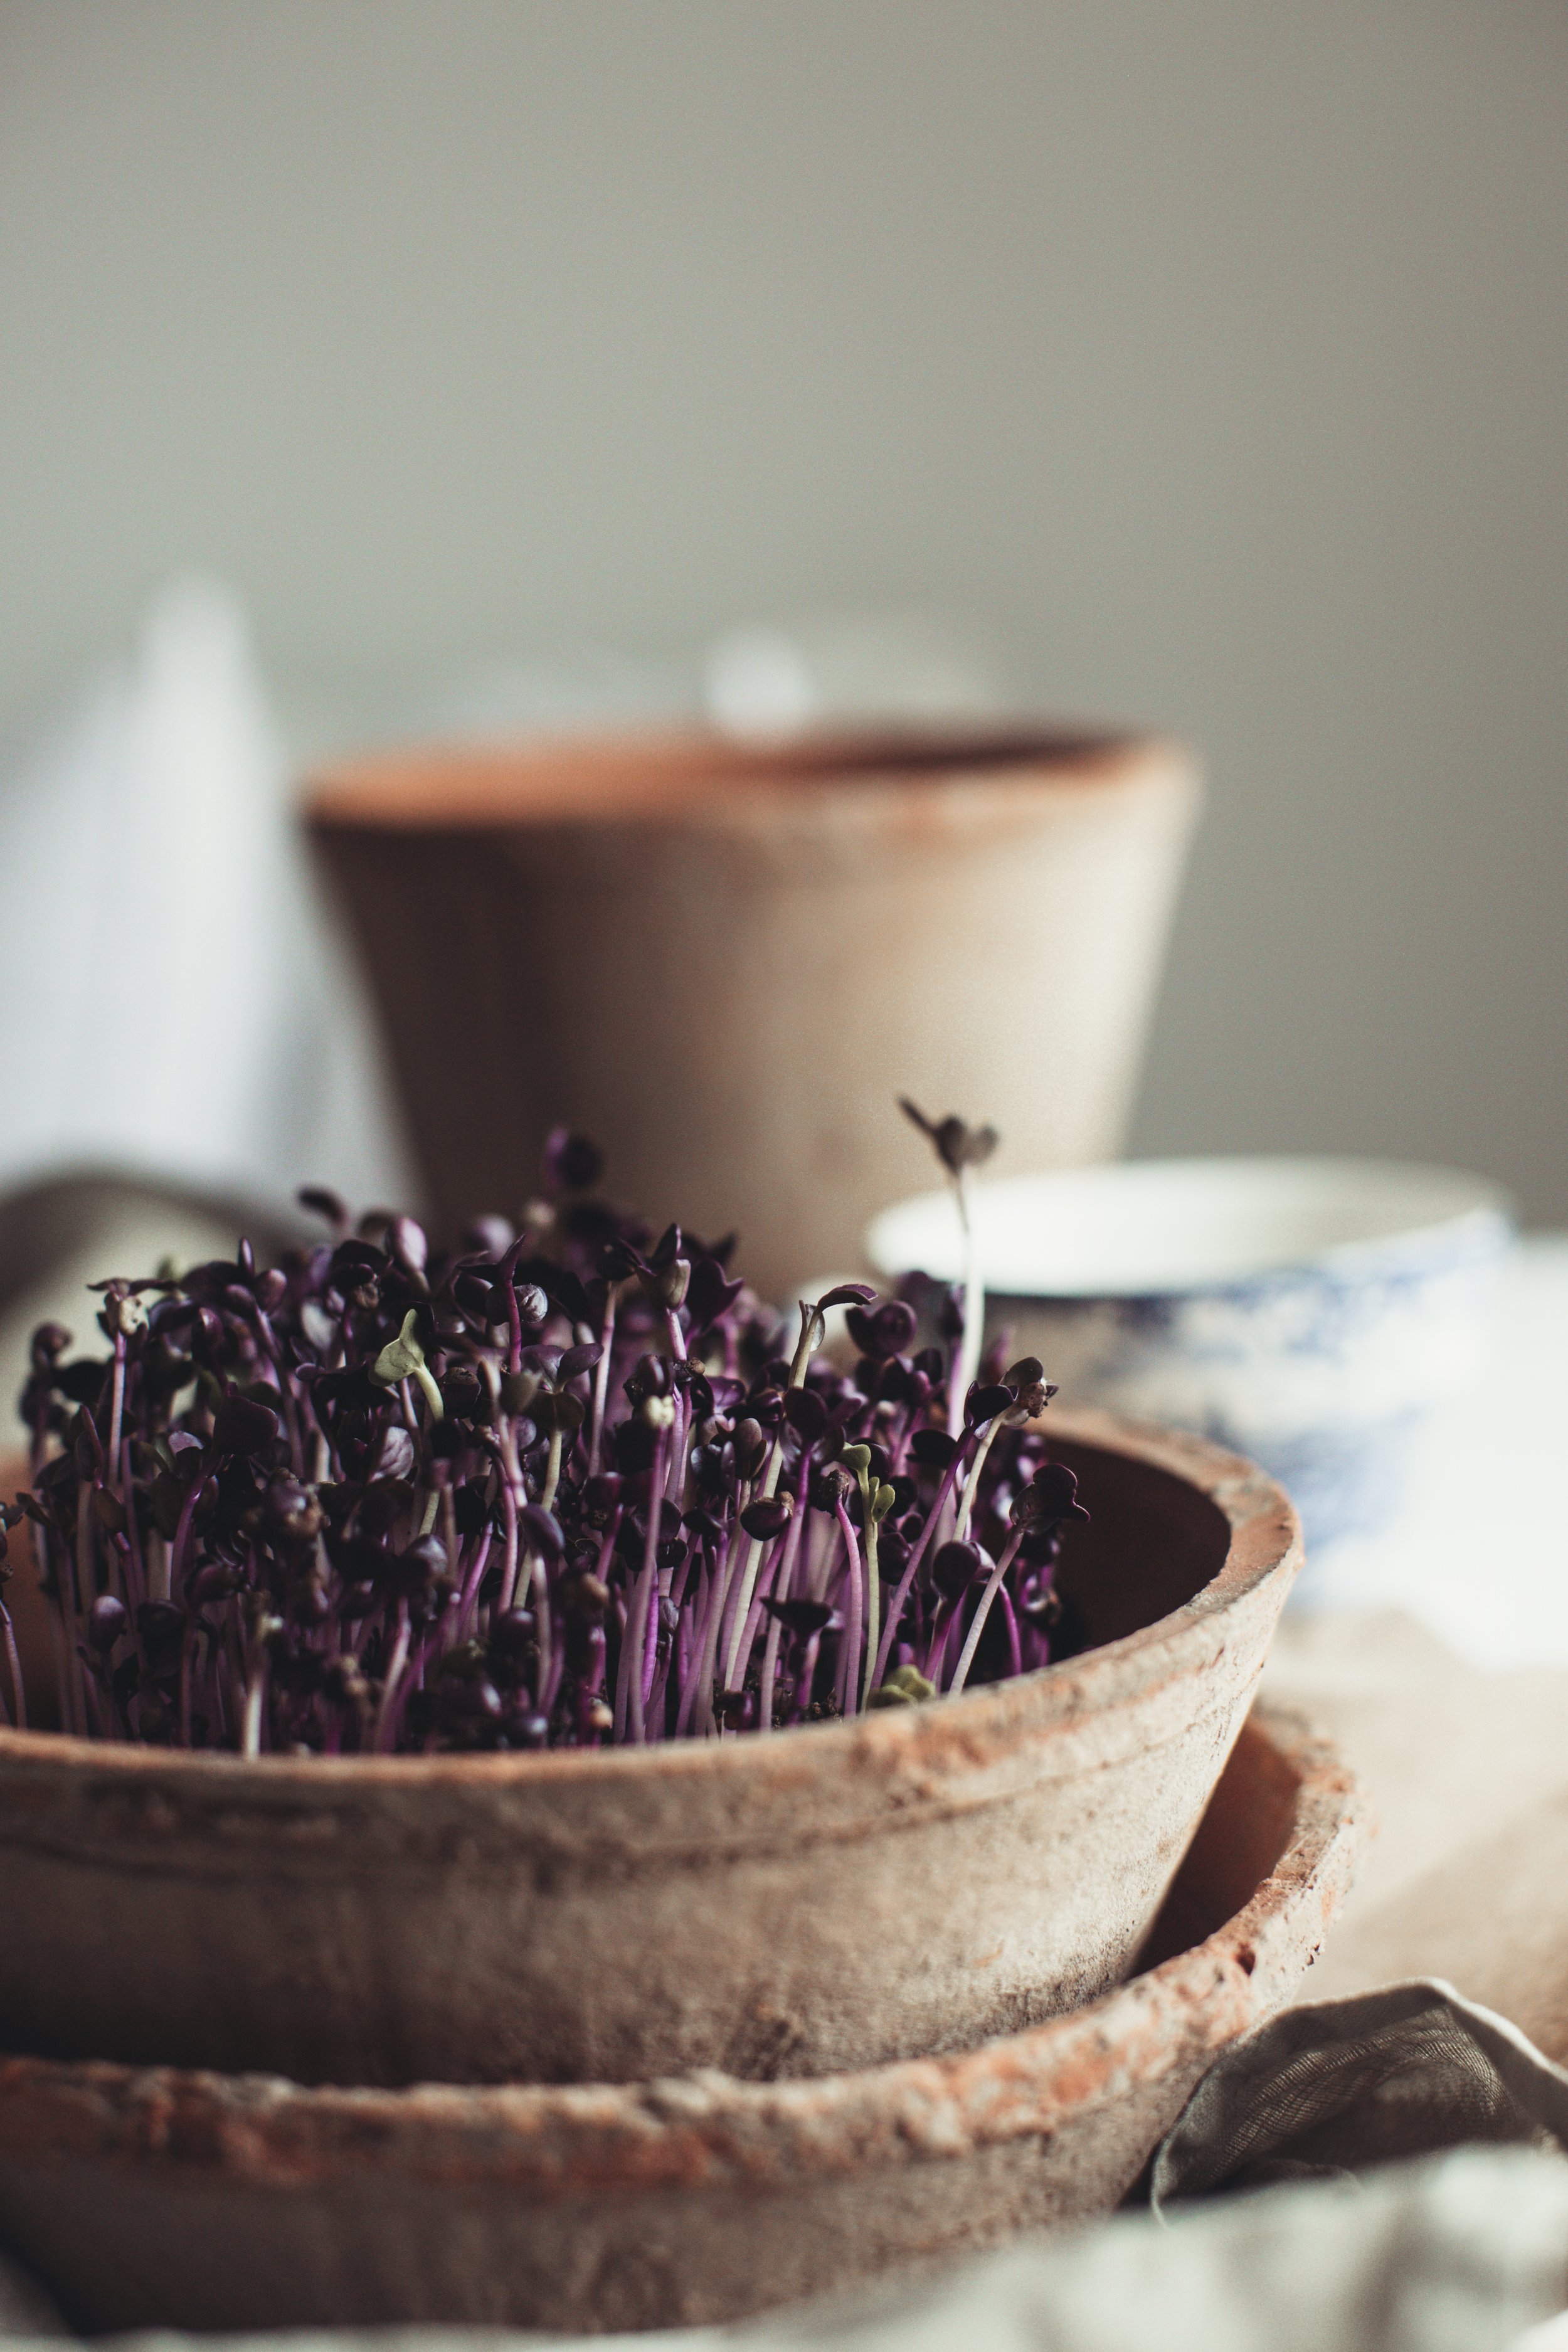
Radish is a very popular and fast growing microgreen, this is why I love to grow them on my windowsill throughout March-November. It literally grows in a week and the fastness of the harvest is very satisfying. The red radish as a mild spiciness and together the green and the red make a beautiful garnish. Add these micro greens to my morning sourdough that is topped with avocado or eggs. I often garnish a main dish like fish or seafood with these microgreens or add a handful to a smoothie for extra health benefits.
Often the internet says to place the seeds into a dark place to help the germination process, however I have never done this and place the pots directly onto my windowsill and the seeds germinate in the next few days.
How to grow?
This growing process works the exact same way as growing the pea shoots. With green and red daikon radish, you do not need to soak the seeds prior to planting. For these, I always use a shallow pot as this makes it easier when harvesting them.
Place about 2cm of herb soil on the bottom of a shallow pot. My pots always have a drainage hole so I do not over water. Press the soil down with your hands so it is flat and water it. Now sprinkle a good amount of seeds next to each other. Add a small amount of soil on top, just enough so the seeds are gently covered. It does not matter if all the seeds are not under the soil. Then spray the top of the soil with water. The reason I use a spray bottle is because if you use a normal watering can, it tends to expose the seeds from under the soil.
Cover with clingfilm: To create a mini-greenhouse effect and speed up germination, cover the pots with a layer of clear clingfilm or plastic wrap. Poke a few holes in to the plastic to allow for air circulation while still retaining some moisture. This helps to retain moisture and warmth, creating an ideal environment for seed germination. Keep an eye on the pots daily and water as needed to maintain soil moisture. Avoid overwatering. Once the seeds start to sprout and push through the soil, typically within a few days, remove the clingfilm or plastic covering. Do not be alarmed by the little furry looking sprouts once they start to push through the soil, this is not mould. It is part of the process as they develop, the little fur starts to disappear.
Place the pots in a bright location, preferably near a window where they can receive ample sunlight. If natural light is limited, you can supplement with a grow light to ensure healthy growth. As the microgreens grow, continue to water them regularly and monitor their progress. Green and red daikon radish is usually ready in about a week or two. During the warm summer months, I’ve had the microgreens grow within a week.
Once the microgreens reach a height of about 4-6cm and develop their first set of true leaves, they are ready to be harvested. Simply snip them off just above the soil line with clean scissors and add them to your favorite dishes for a nutritious and flavorful boost.
Once you have eaten all the greens, dump the soil out and start the process again. It is difficult to plant them into the same soil, as they develop such long roots, thus it is easier to start the process again.
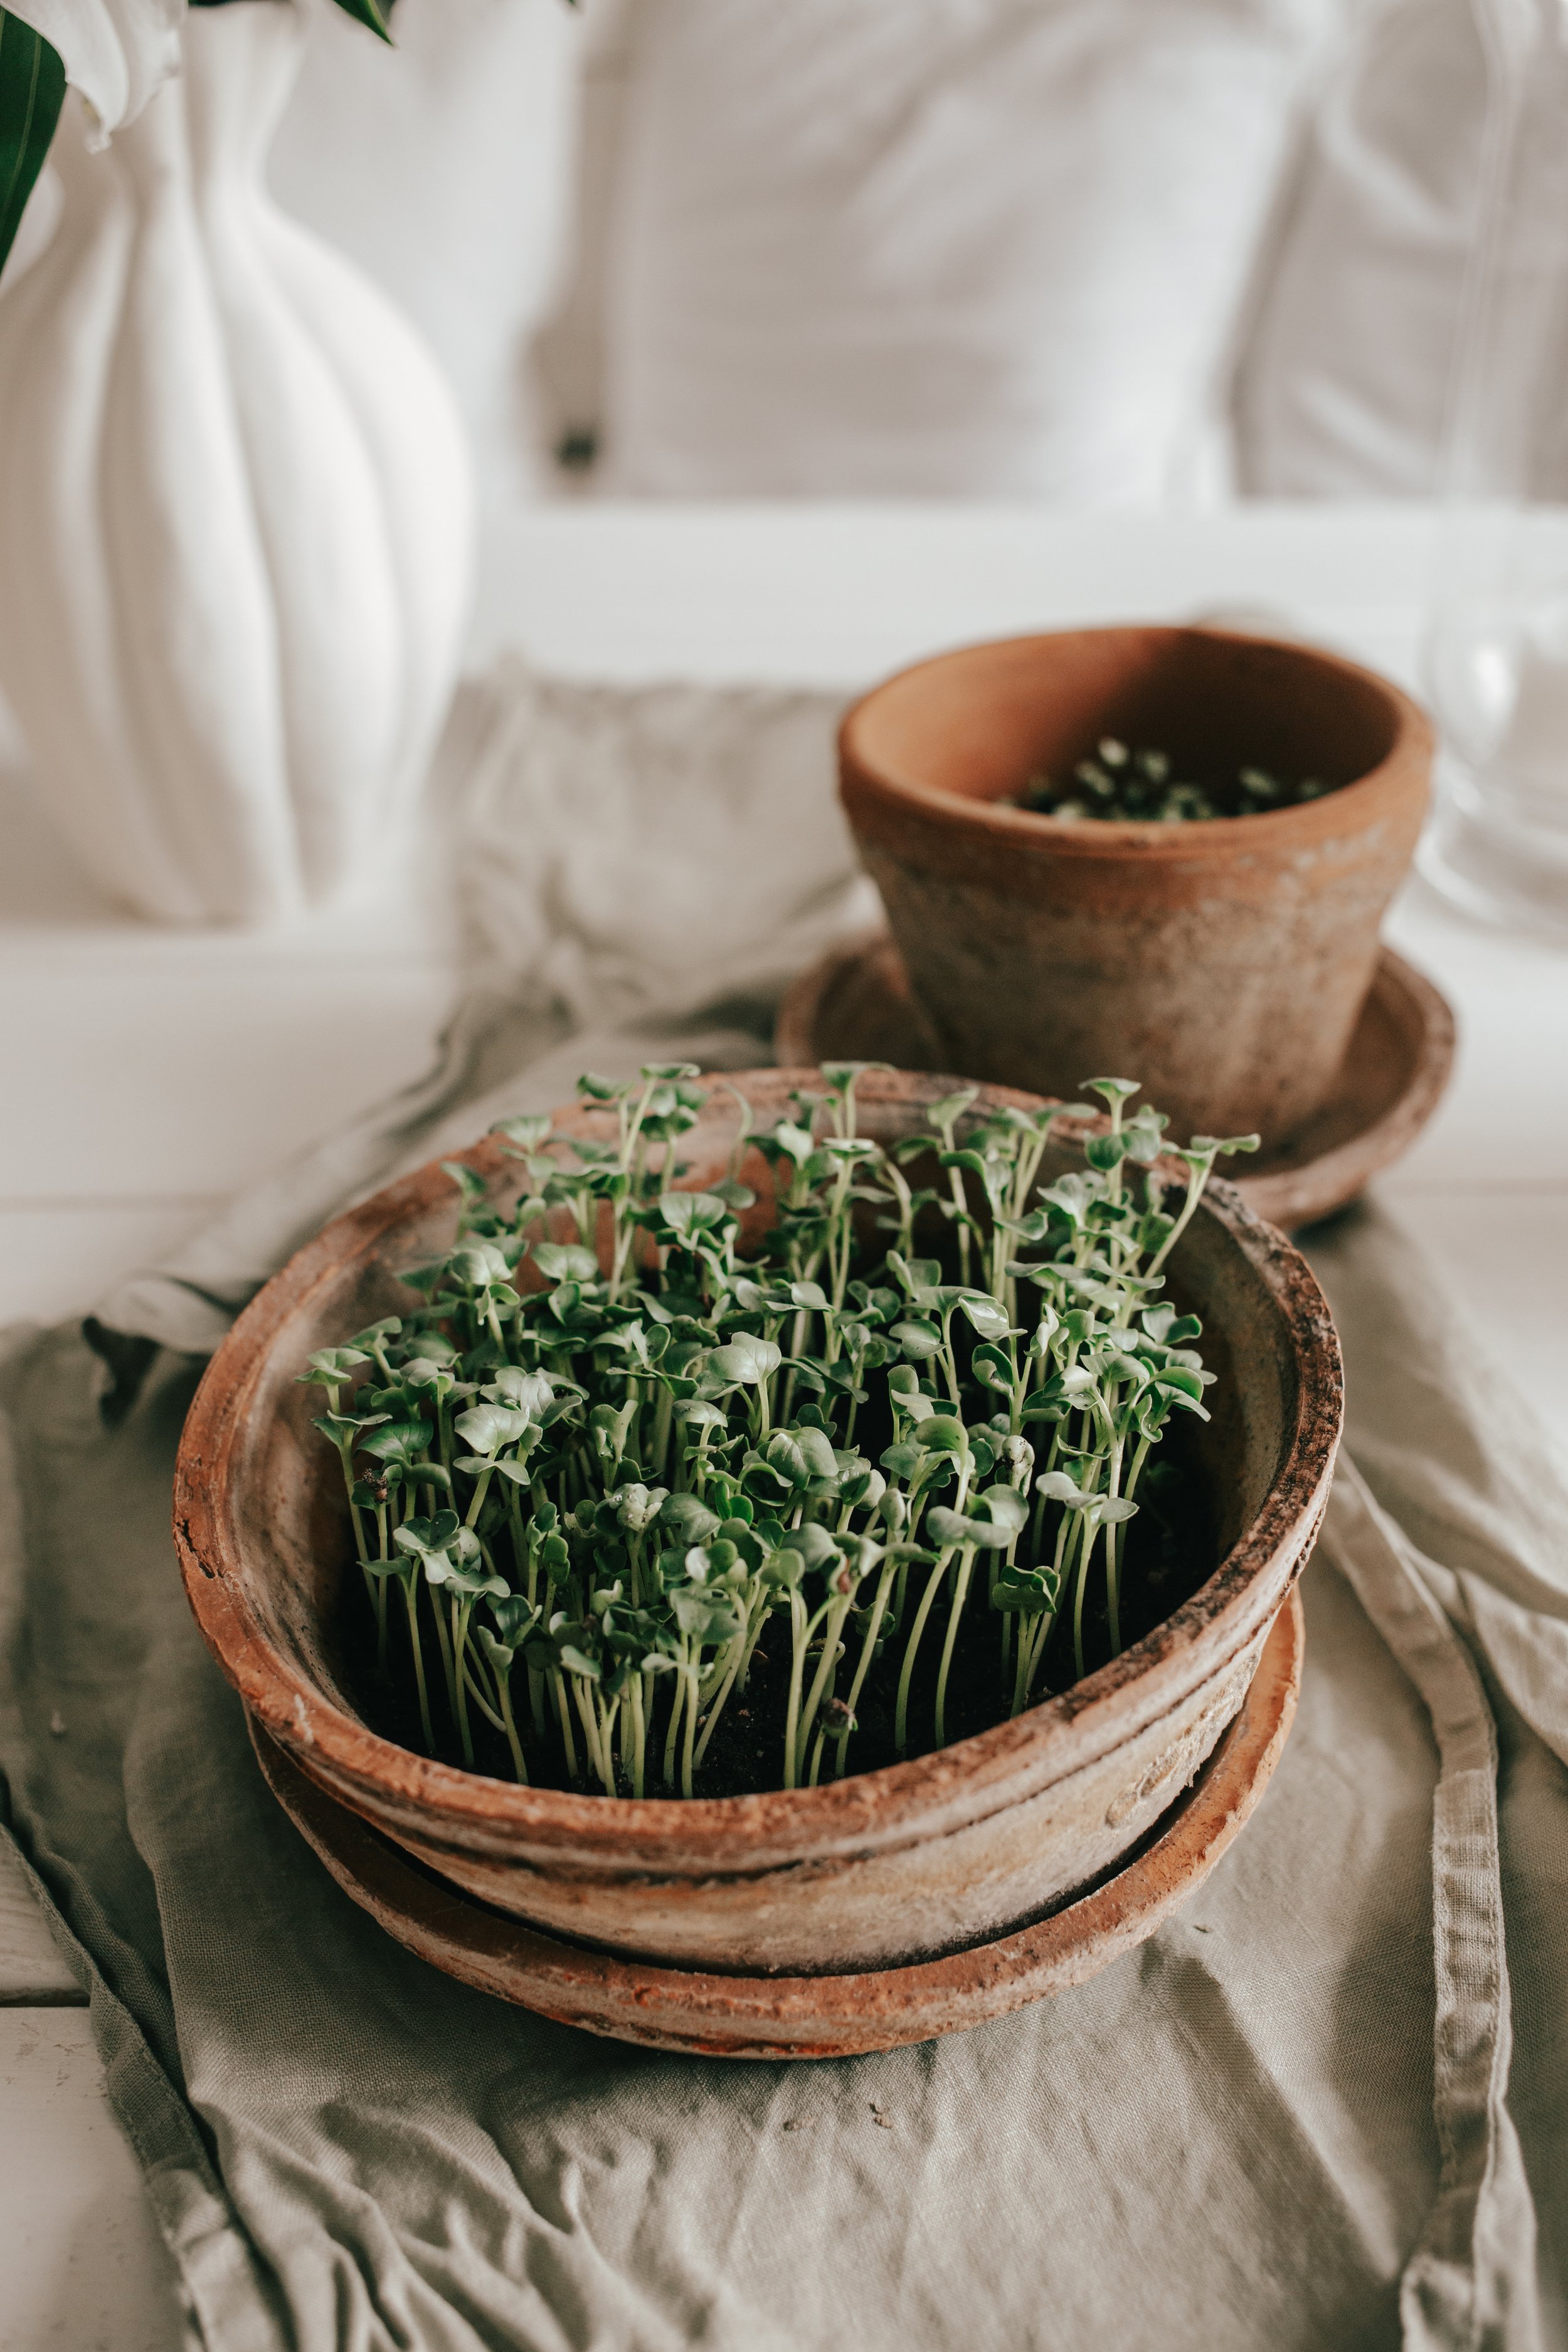
After 2-3 days the seeds have started to sprout. After about 3-4 days, I remove the plastic cover. Remember to water daily.
how to use microgreens/ peashoots
3) Growing Chia Seed Microgreens on wet kitchen paper (without soil)
Chia sprouts are high in calcium and magnesium, which support bone and muscle health. These sprouts can be grown without soil, simply on wet kitchen paper, on your window sill. These take longer than green and red daikon, about 10 days until they are ready to be eaten.
How to grow?
Take 2-3 pieces of kitchen paper. Fold the wet paper over and place onto a plate. Sprinkle store bought chia seeds (yes, the same that you eat) on to the wet paper. Spray with water. Add the same type of plastic (with holes poked into it) on top of the plate. Place onto a windowsill. Spray with water daily so the paper does not dry and watch them grow. Once they start to grow, uncover the plastic. Harvest when the leaves are open and the microgreens are about 3-5 cm tall.
The Beauty of Micro Greens
Growing microgreens in your kitchen is not just a hobby; it's a journey into a world of culinary and health wonders. Imagine transforming a corner of your kitchen into a lush mini-garden, vibrant with fresh green shoots bursting with flavor and nutrients. Aged terracotta pots become vessels of life, nurturing tiny seeds into vibrant greens right on your countertop.
The greatness of growing microgreens lies in their speed and convenience. Within a matter of days, tender shoots emerge, ready to be harvested for a burst of freshness in your dishes. Their compact size makes them perfect for even the smallest of spaces, turning any kitchen into a green oasis. Plus, the process is incredibly satisfying – witnessing the miracle of growth firsthand is a joyous experience.
But the benefits extend far beyond mere aesthetics. Microgreens are packed with essential nutrients, often even more concentrated than their mature counterparts. These miniature powerhouses are rich in vitamins, minerals, and antioxidants, offering a potent boost to your health with every bite. Incorporating them into your diet can enhance immunity, support digestion, and promote overall well-being.
What's more, growing microgreens at home allows you to exercise full control over their cultivation. You know exactly what goes into their growth – no pesticides or harmful chemicals, just pure, wholesome goodness. And the freshness they provide is unparalleled; there's nothing quite like snipping a handful of greens right before mealtime, infusing your dishes with a burst of flavor and vitality.
Prepare your materials: Gather terracotta pots or any shallow containers suitable for growing microgreens. Ensure they have drainage holes to prevent waterlogging. You'll also need potting soil or a soilless growing medium, microgreen seeds, and water.
Fill the pots with soil: Add a thin layer of potting soil to each pot, filling them almost to the brim. Ensure the soil is loose and well-draining to support healthy root growth.
Sow the seeds: Sprinkle a generous amount of microgreen seeds evenly across the surface of the soil. Gently press them into the soil, but avoid burying them too deeply; microgreens prefer to be close to the surface for optimal growth.
Water the seeds: Using a gentle spray or a watering can with a fine rose, moisten the soil thoroughly. Ensure the soil is evenly moist but not waterlogged, as excess moisture can lead to mold or rot.
Cover with clingfilm: To create a mini-greenhouse effect and speed up germination, cover the pots with a layer of clear clingfilm or plastic wrap. This helps to retain moisture and warmth, creating an ideal environment for seed germination.
Monitor and water: Keep an eye on the pots daily and water as needed to maintain soil moisture. Avoid overwatering, as this can lead to damping-off disease or mold growth.
Remove the clingfilm: Once the seeds start to sprout and push through the soil, typically within a few days, remove the clingfilm or plastic covering. If using clingfilm, you can poke a few holes in it to allow for air circulation while still retaining some moisture.
Provide light: Place the pots in a bright location, preferably near a window where they can receive ample sunlight. If natural light is limited, you can supplement with a grow light to ensure healthy growth.
Watch them grow: As the microgreens grow, continue to water them regularly and monitor their progress. Depending on the variety, they can be ready for harvest in as little as one to two weeks.
Harvest and enjoy: Once the microgreens reach a height of a few inches and develop their first set of true leaves, they are ready to be harvested. Simply snip them off just above the soil line with clean scissors and add them to your favorite dishes for a nutritious and flavorful boost.
With a bit of soil, seeds, and care, you can enjoy a continuous supply of fresh and vibrant microgreens right from your kitchen countertop. Happy growing!
3 days of growth (red daikon)- you can see the seeds are just starting to burst with slight growth
Naturally Dyed Easter Eggs
Embrace Nature's Palette: Naturally Dyed Easter Eggs
As Easter approaches, the air is filled with anticipation, and homes echo of a holiday coming up. It's a time of celebration, marked by traditions old and new. Among these cherished customs is the art of decorating Easter eggs, a practice that spans cultures and generations. While the market shelves dazzle with vibrant synthetic dyes and glittering embellishments, there's an understated elegance in embracing nature's hues for our Easter decorations.
Crafting ( alone or with children) during Easter is not just about creating beautiful adornments for the home; it's about fostering creativity, sharing moments, and passing down traditions. And what better way to engage in this timeless activity than by using natural ingredients to color eggs?
The Beauty of Natural Dyes
Gone are the days when artificial dyes were the only option for coloring Easter eggs. Today, we rediscover the beauty and simplicity of natural dyes sourced from everyday ingredients found in our kitchens and gardens. Not only do natural dyes produce stunning results, but they also offer a safer and more eco-friendly alternative for crafting with children.
Creating Nature's Palette
Let's embark on a journey of natural dyeing, starting with a recipe that utilizes the rich pigments of hibiscus, red onion peel, and dark berries. Begin by boiling water with these ingredients, allowing the color to intensify. Once the dye is ready, gently submerge boiled eggs into the vibrant liquid, letting them soak up nature's hues. As the eggs absorb the colors, they transform into works of art, each with its own unique pattern and shade.
But why stop there? For an added touch of opulence, consider rolling the warm eggs in edible gold dust. This final step adds a shimmering finish, elevating your Easter eggs to a level of sophistication fit for any festive gathering. And the best part? These eggs are not just for display; they're entirely edible, making them a delightful treat for both the eyes and the palate.
Exploring Other Natural Dyes
While our featured recipe offers a mesmerizing blend of colors, the possibilities for natural dyeing are endless. Experiment with a variety of ingredients to create your own signature palette. Here are a few suggestions to spark your creativity:
Coffee: Brew a strong pot of coffee for a rich, earthy hue that exudes warmth and coziness.
Purple Cabbage: Boil chopped purple cabbage to extract its vivid purples and blues, resulting in dreamy pastel shades.
Cumin: Infuse water with cumin seeds for a warm, golden-yellow dye reminiscent of sunlit fields.
Tea: Steep black tea or herbal teas like chamomile or hibiscus for soft, muted tones that evoke tranquility.
As we prepare to celebrate Easter, let's embrace the beauty of natural dyes and the joy of crafting with loved ones. Whether you're a seasoned crafter or embarking on your first dyeing adventure, the simplicity and charm of natural Easter eggs are sure to captivate hearts and inspire new traditions for years to come. So gather your ingredients, unleash your creativity, and let nature's palette paint a picture of Easter bliss in your home.
DIY Elegant birds nest for Easter
Add some decorative quail eggs along with natural looking chocolate eggs for a beautiful finish.
Creating a birds nest with a few simple woodland material - a touch of elegance to your Easter festivities
Welcome to the world of natural and elegant Easter decorations. Easter is only a week away and for the first time, I have been more inspired to decorate for this holiday. Easter is a time of renewal and celebration, and what better way to honour this season than by bringing the beauty of the outdoors into your home? I personally like to decorate with muted colours with timeless beauty. I try to explore how to create beautiful decorations using materials gathered from nature, such as willow branches, handmade bird's nests, naturally dyed eggs, and arrangements of seasonal flowers like snowdrops, meleagris and seasonal cut flowers.
With a few simple techniques and a touch of creativity, you can transform natural elements into stunning decorations that will add a touch of elegance to your Easter festivities. Whether you're looking to adorn your Easter table, create a festive centerpiece, or simply add a touch of seasonal charm to your home, these DIY decorations are sure to delight both you and your guests. I made a few of these birds nests as we created a little easter egg hunt for our son in the woods, where we hid little treats in the nests. I also think the nest looks beautiful in the house as decorations while also making a lovely gift to give someone. filled with chocolate eggs.
4 steps in the following pictures to get started:
Creating a decorative bird's nest for Easter using materials gathered from the woodland can be a fun and creative project. Here are step-by-step instructions to guide you through the process:
Materials Needed:
Young twigs (gathered from the woodland)
Hay or straw
Pampas grass (optional)
Floral wire (optional)
Easter eggs or chocolate eggs
Scissors
Step 1: Gather Materials
Collect young twigs, hay or straw, and pampas grass from the woodland. Ensure that the twigs are flexible enough to be shaped into a nest.
Step 2: Prepare Twigs
Inspect the twigs to remove any excess leaves or branches. Choose the most flexible and durable twigs, such as those from young birch trees, for easier manipulation.
Step 3: Create the Outer Ring
Start by forming the outer ring of the nest. Take a handful of twigs and intertwine them together, similar to how you would create a wreath. Shape them into a circle of the desired size for your nest.
Step 4: Secure with Wire (Optional)
If needed, use floral wire to secure the twigs in place. Wrap the wire around sections of the twigs to hold them together firmly. This step is optional but can provide added stability to the nest.
Step 5: Build the Base
Repeat the process to create a base for the nest. This base should be slightly smaller in diameter than the outer ring. Intertwine the twigs together, forming a circle.
Step 6: Add Hay or Straw
Place a ball of hay or straw in the center of the nest. This will serve as the nesting material for your decorative birds.
Step 7: Incorporate Pampas Grass (Optional)
For added decoration, tuck a few pieces of pampas grass into the center of the nest. This will give the nest a natural and rustic appearance.
Step 8: Decorate
Once the nest is complete, decorate it with Easter eggs or chocolate eggs. You can place the eggs inside the nest or scatter them around the outer edge for an Easter egg hunt.
Step 9: Display
Find a suitable location to display your decorative bird's nest. You can place it on a table as a centerpiece or let it sit back in a bookshelf. It will add a festive touch to your Easter celebrations. You can re-use it yearly in an easter egg hunt and create beautiful memories with loved ones.


